What’s New
Release Note - May 2018- Auto Update # 3063
Privacy Regulation Compliance
With the introduction of GDPR legislation, the European Union has literally re-written the rulebook on how you collect and store customer information. All online organisations need to comply, and PatronBase has been modified so you can meet GDPR expectations, enhancing support for third party consents and auditing of the consent wording presented to patrons. To properly benefit from these changes and give you peace of mind with respect to GDPR requirements, you will need to take some specific administrative actions to your PatronBase installation. These preparation steps are detailed in the first section below.
Additional changes, including a number of Fundraising enhancements, are also listed below.
- Preparing for GDPR Compliance
- Gift Aid Enhancements
- QR Codes on Tickets
- Fundraising: Assign Tasks to Operators
- Fundraising: Opportunity Card Displays Actual Value
- Fundraising: Communications Classification with Permissions
- Fundraising: Warning When No Associated Product
- Fundraising: Deleting Opportunities
- Fundraising: Sorting Opportunities by Outcome Expected Date
- Fundraising: Featured Campaigns View All Improvement
- Fundraising: Relationships Tree
- Fundraising: Patron Type and Category
- Define Default Production Roles
- Season Subscriptions: Order Preference Book Types/Patron
Preparing for GDPR Compliance
PatronBase applications support your efforts to comply with European Union GDPR legislation. However, you will not be compliant without taking further actions to ensure you are meeting your privacy regulation obligations. These steps will assist you to prepare for GDPR:
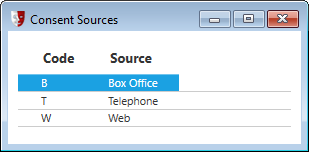
1. Create Consent Sources
A Consent Source is the channel by which you obtain consent from a patron to store their information. PatronBase provides a default Consent Source of Web and this is used for consent obtained through the Web module. You will need to add consent sources for each additional way you obtain consents, such as Telephone when you verbally obtain consents over the phone, or Box Office for consents obtained by the box office operator when dealing with the patron in person.
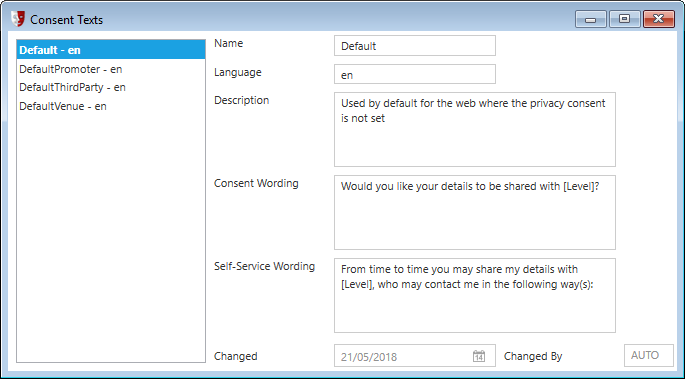
2. Create Consent Wordings
Consent Wordings are statements that will be presented to the patron, either in writing or by being read to them, whenever you seek to obtain consent from a patron to contact them. They detail to the patron precisely what you are requesting consent for. You will probably need several Consent Texts, one for different specific consents. Each Consent Text will have a Self-Service Wording to be presented to the patron via self-service channels like the Web module, and a Consent Wording that will be read to the patron in personal service situations. Placeholders used in the wording, [Level] or [Partner], will be replaced in the text with appropriate substitutions when displayed.
You may need to consider wordings that are not off-putting but provide patrons with understandable benefits or reasons why they may wish to provide consent. To ensure your chosen wordings are not misleading, you might seek legal advice.
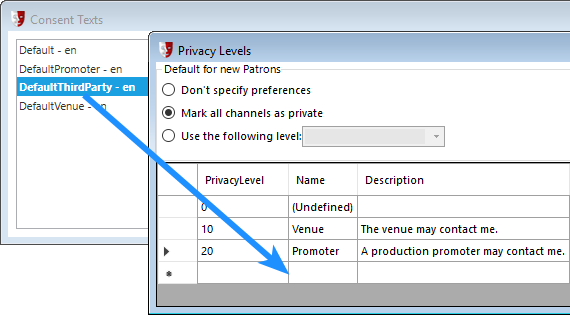
3. Match Privacy Levels
Make sure that there is an active Privacy Level for each of the Consent Texts, and that there is a Privacy Level for each class of data sharing partners. Here we see the need to add a Privacy Level to match the third-party consent texts.
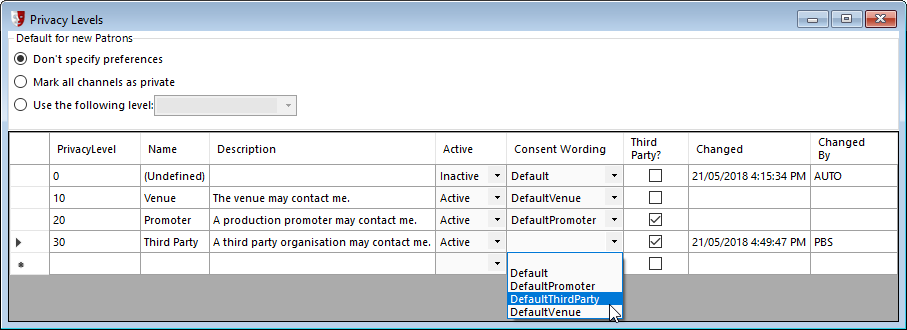
4. Link Privacy Levels to Consents
Each Privacy Level must have an appropriate Consent Wording set.
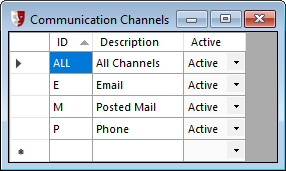
5. Create Communication Channels
Review your Communication Channels and ensure you have not missed any ways you want to communicate with your patrons. Add any additionally channels as necessary.
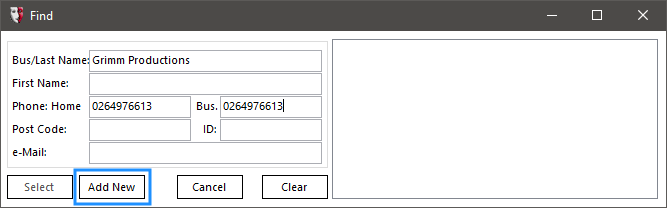
6. Create Patron Organisations for Data Sharing Partners
Put your data sharing partners into the database as companies, if they are not already there.
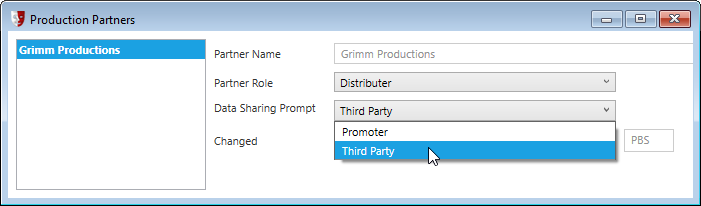
7. Create Production Partner for Each Data Sharing Partner
In Production Partners, ensure each data sharing partner is entered, identifying their Partner Role and specifying the Data Sharing Prompt that will be presented to the patron when PatronBase asks for their consent to share information with the partner.
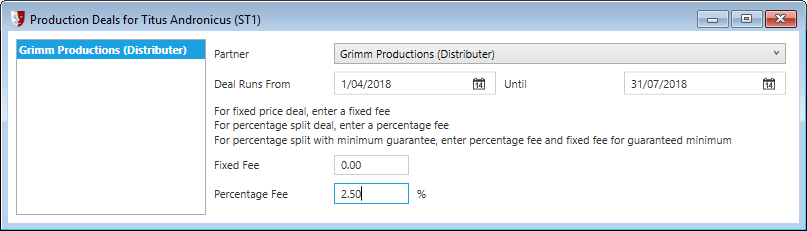
8. Link Productions to Relevant Data Sharing Partner
Select each production in Edit Productions and click the Deals button. Identify each relevant data sharing partner for that production to link the production with the data sharing partner. If there is no fee associated with the relationship, use 0.00 for the fees.
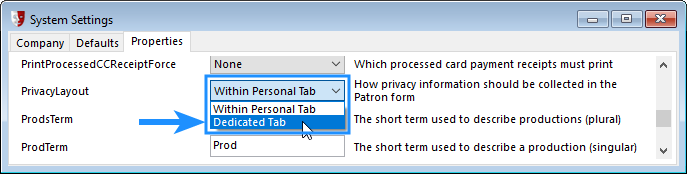
9. Change PrivacyLayout Property
Make sure you change the System Setting property PrivacyLayout to Dedicated Tab in Setup > Organisation > Settings > Properties. This is required for third party consents and auditing to function effectively.
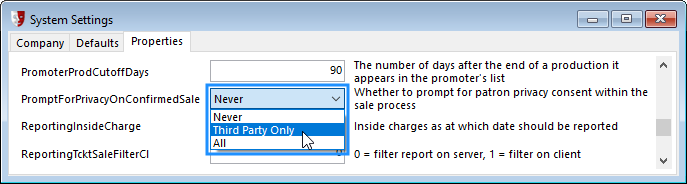
10. Change PromptForPrivacyOnConfirmedSale Property
Change the System Setting property PromptForPrivacyOnConfirmedSale in Setup > Organisation > Settings > Properties. The All option will prompt for updating privacy settings when a sale is confirmed; the Third Party Only option will only prompt if the confirmed sale contains one or more productions with data sharing partners.
With these above changes, whenever a patron uses the web module and makes a purchase for a production that has a linked data sharing partner, they will be prompted on a new Data Sharing section with the relevant Self-Service Wording to seek their consent to share their data. Patrons can also add additional consents or retract consent at any time using their My Details section.
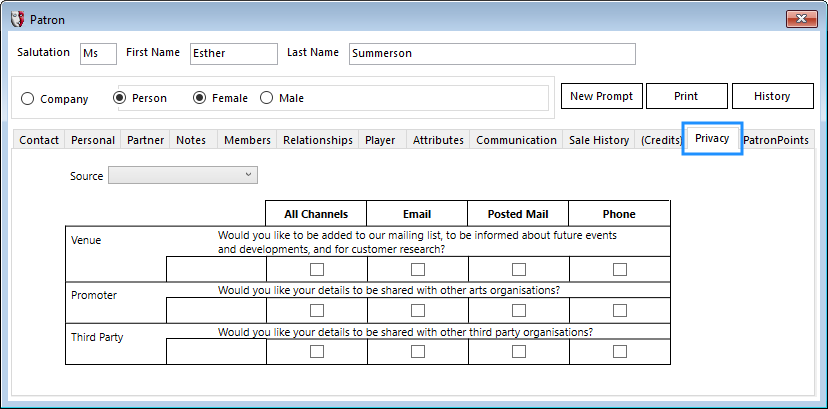
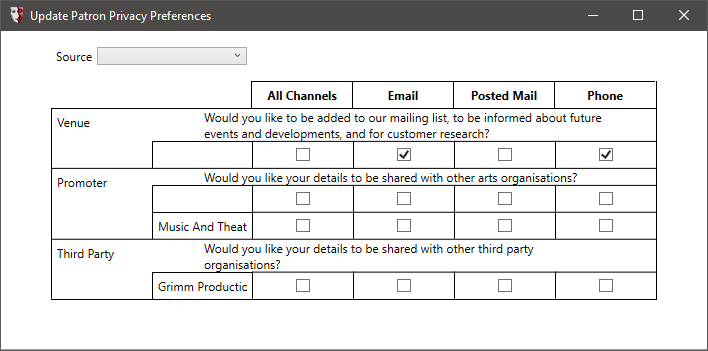
Also, whenever a box office operator views the new Privacy tab in the Patron details window, each of the privacy settings is displayed with Communication Channels shown as columns and Privacy Levels shown as rows. Optionally, each data sharing partner can also be represented as a row. Each level has the appropriate Consent Wording displayed for the box office operator to read to the patron to obtain their consent for these contacts. The checkboxes can be checked to indicate sharing is permitted, blanked to indicate that sharing is not permitted, or a third ‘filled in’ state, which means that the patron has not answered the consent request. Checkbox settings will be saved whenever a change is made, or when the Source is set.
Additionally, Box Office will display a prompt for the operator to update privacy settings for the sale patron when a sale is confirmed, depending on the setting chosen above. It may prompt on All confirmed sales, or if the Third Party Only option was selected, only if the confirmed sale contains a production linked to one or more data sharing partners.
Please note this is not a comprehensive checklist for your GDPR compliance, as it is only intended to help you establish PatronBase correctly within a GDPR-compliant environment. You will have additional GDPR requirements that are outside the domain of the PatronBase system, such as appointing a data protection officer.
Gift Aid Enhancements
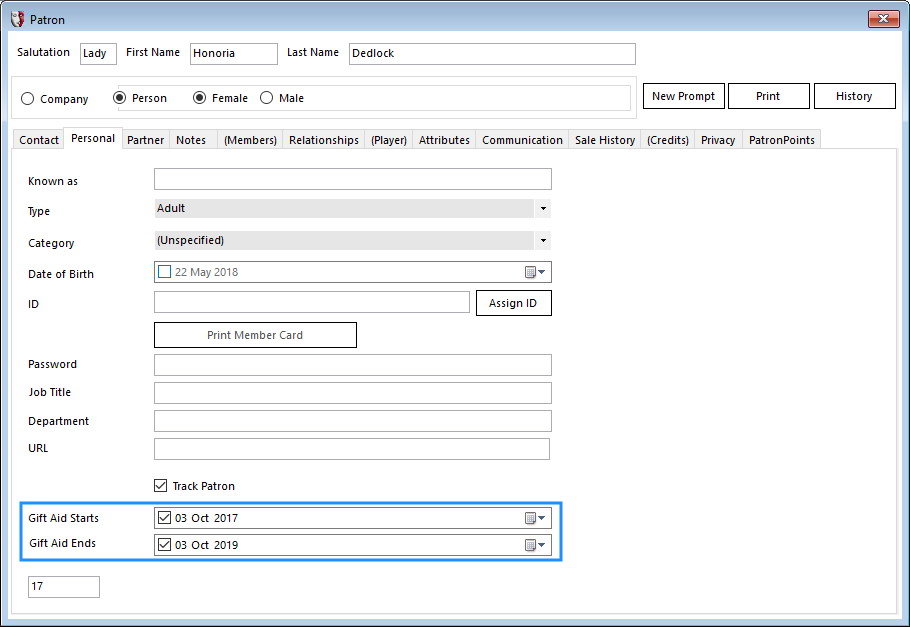
In the Patron details window, the Personal tab has two new fields. Gift Aid Starts and Gift Aid Ends store the applicable dates for Gift Aid donations for the patron. Note that if Gift Aid is relevant to your region but you cannot see these fields, you need to set the system setting GiftAid to True in Administration, under Setup > Organisation > Settings > Properties.
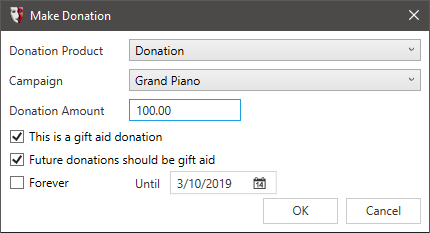
When creating a donation sale, the donation can be flagged as a gift aid donation. New Gift Aid preferences have been added which will be preserved and used as defaults for subsequent donation sales to the patron, namely a checkbox Future donations should be gift aid, along with an Until date selection and a checkbox for Forever that overrides the Until date.
QR Codes on Tickets
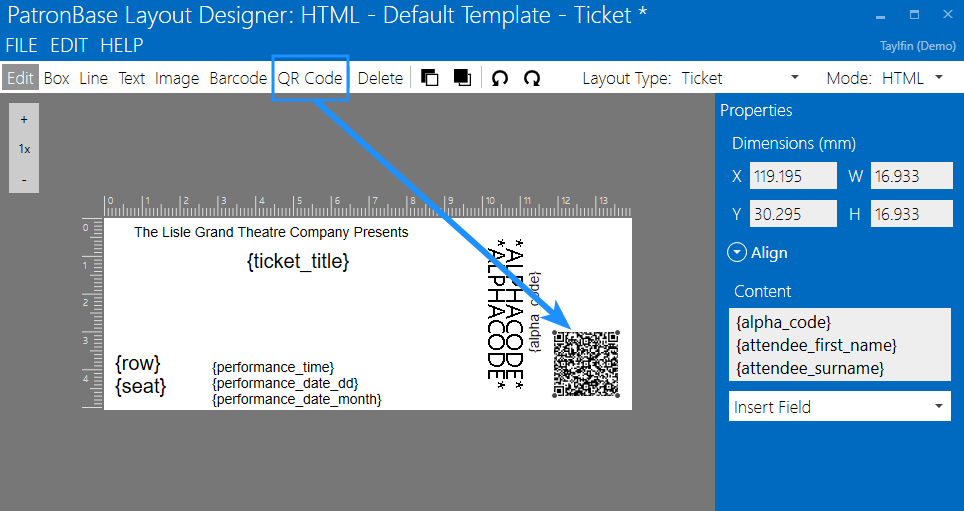
Layout Designer now provides the ability to add QR codes to tickets and other templates. QR codes provide many advantages over barcodes, including the ability to store more information than can be stored in a barcode in a similar amount of space. They can be read by modern 2D scanners at any orientation, often more easily than old barcodes, even when the QR code is damaged in some way.
To add a QR code in Layout Designer, load your template, then select QR Code from the menu. Draw a square on the template where you would like the QR code to appear. In the Content field, add data placeholders using the Insert Field dropdown. You can add multiple data fields to the QR code.
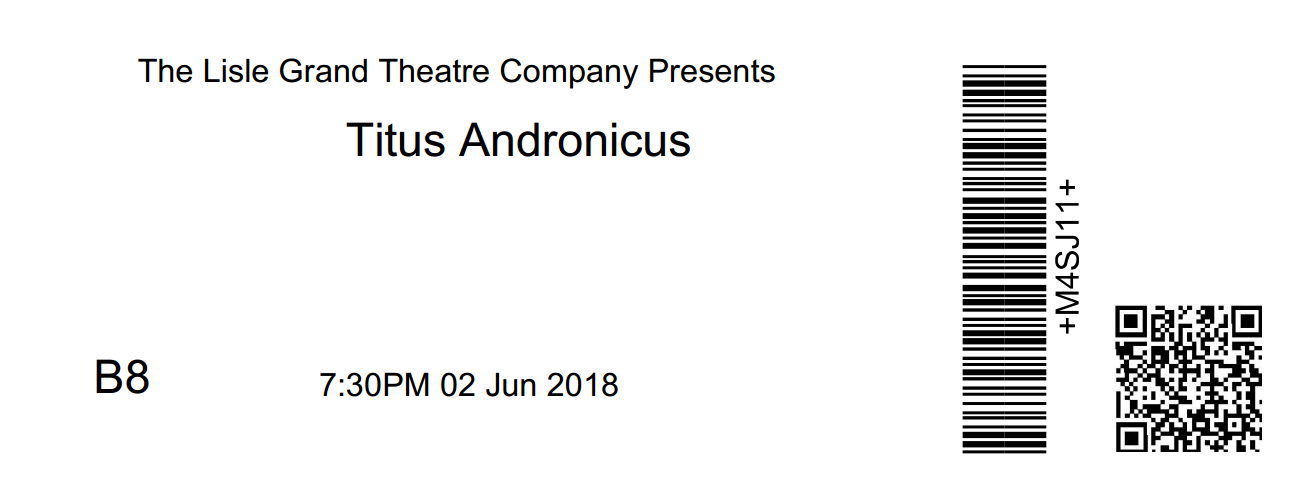
When the ticket is printed, the QR code on the ticket will be constructed using the actual details for the ticket sale.
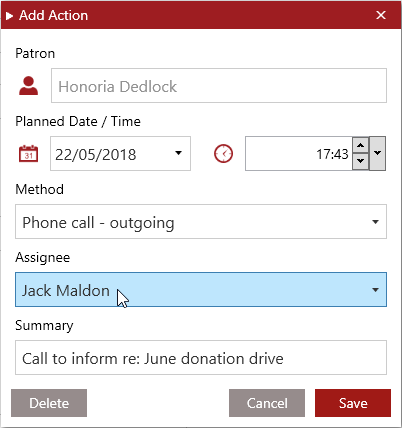
Fundraising: Assign Tasks to Operators
Tasks can now be assigned to specific operators so it is clear who is expected to be following up on the future actions. Select an Assignee from the available list of operators.
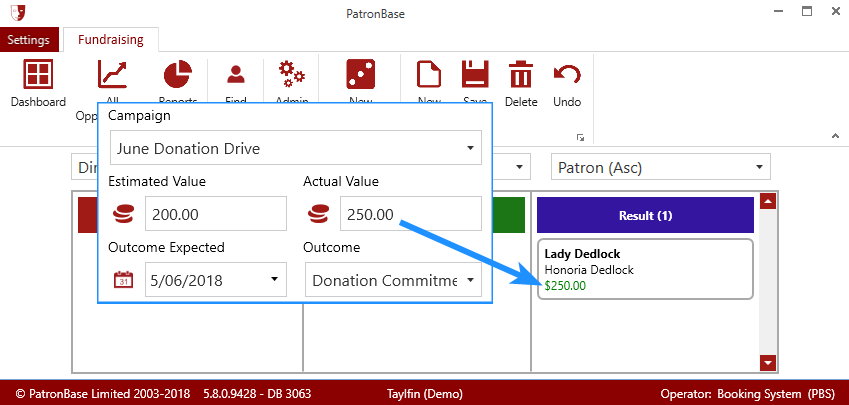
Fundraising: Opportunity Card Displays Actual Value
The value on an opportunity card in the pipeline changes from the Estimated Value to the Actual Value once the Actual Value has been entered. Here an excerpt from an opportunity details window is overlaid to point out the related field on the pipeline card.
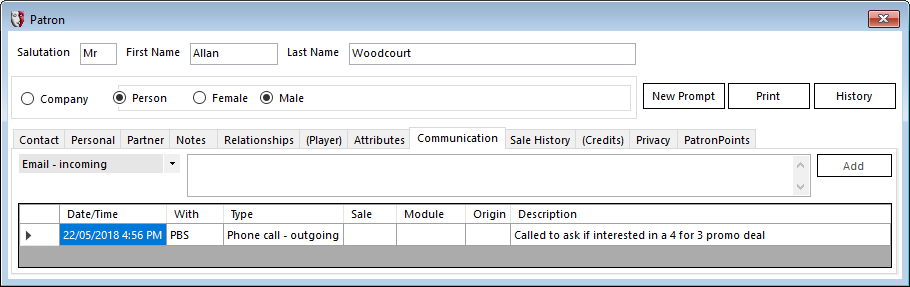
Fundraising: Communications Classification with Permissions
Communication records in Fundraising can be tagged as relating to the Fundraising module or General.
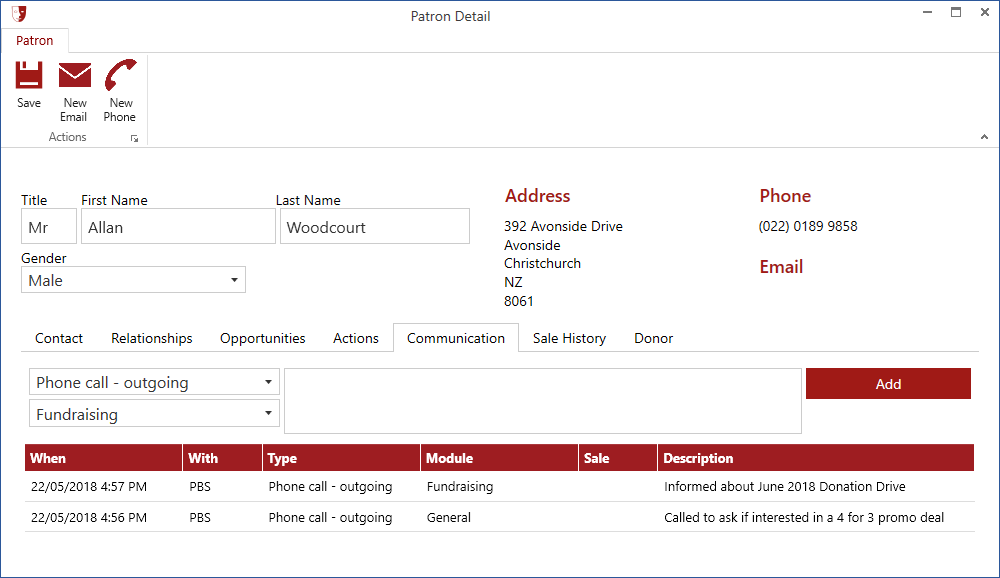
This classification is respected in Box Office and other tools, so if an operator does not belong to a Security Group with Access the Fundraising module permissions, they will only see communications tagged as General.
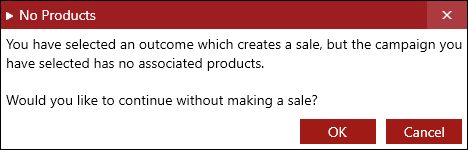
Fundraising: Warning When No Associated Product
If a new Campaign is created, but it is not connected to a donation product, Fundraising cannot create a new sale for the donation. Instead of silently failing, a new warning dialog box explains the problem. If the campaign is then set up with an associated donation product, subsequent attempts to record a successful donation in Fundraising will create a new sale.
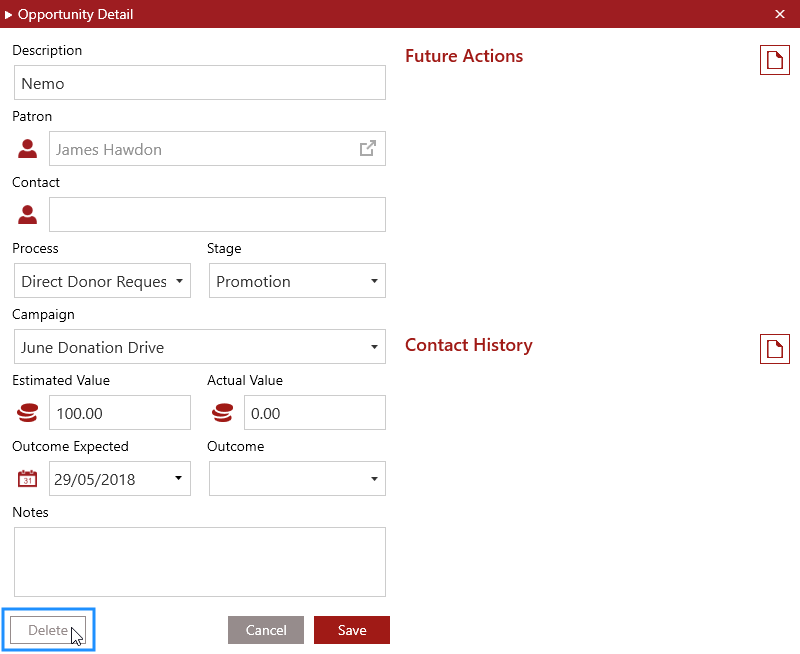
Fundraising: Deleting Opportunities
Opportunities can now be deleted, for instance if two people accidentally add a duplicate record for the same opportunity. This saves you from creating hidden states to put unwanted opportunities in. You will be asked to confirm your deletion.
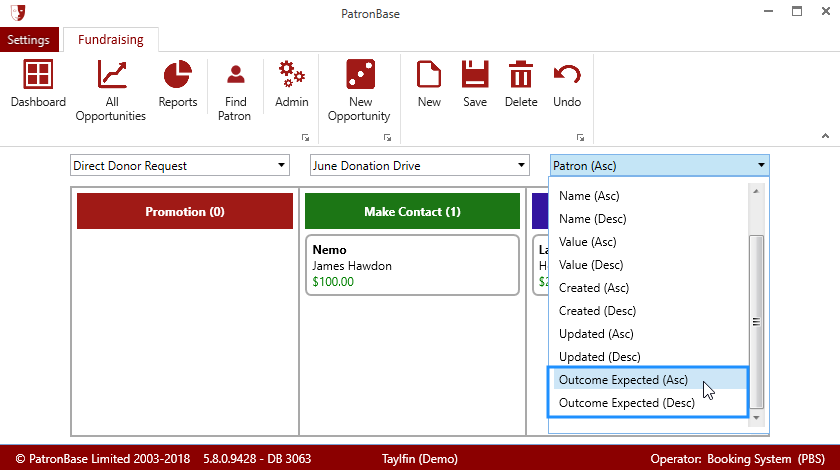
Fundraising: Sorting Opportunities by Outcome Expected Date
Two new sort options have been added to the filter for the opportunities process workflow visualisation, Outcome Expected (Asc) and Outcome Expected (Desc). Outcome Expected is the date entered into the opportunity details that records when you anticipate resolving the opportunity one way or another. Being able to sort the opportunities cards in the process workflow columns by the expected outcome date can help you decide which opportunities you take action on next.
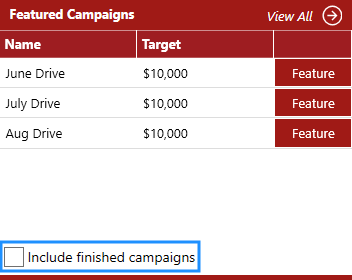
Fundraising: Featured Campaigns View All Improvement
The View All option on the Featured Campaigns tile on the Fundraising Dashboard has been enhanced.
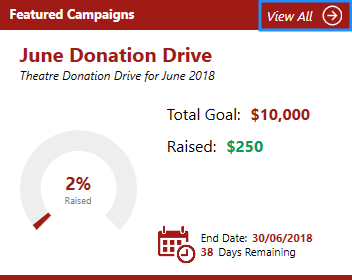
Once selected, the campaigns listed are all those with future campaign end dates, even if the campaign has not yet started. You also have the option to tick the Include finished campaigns checkbox and see campaigns from the past listed also.
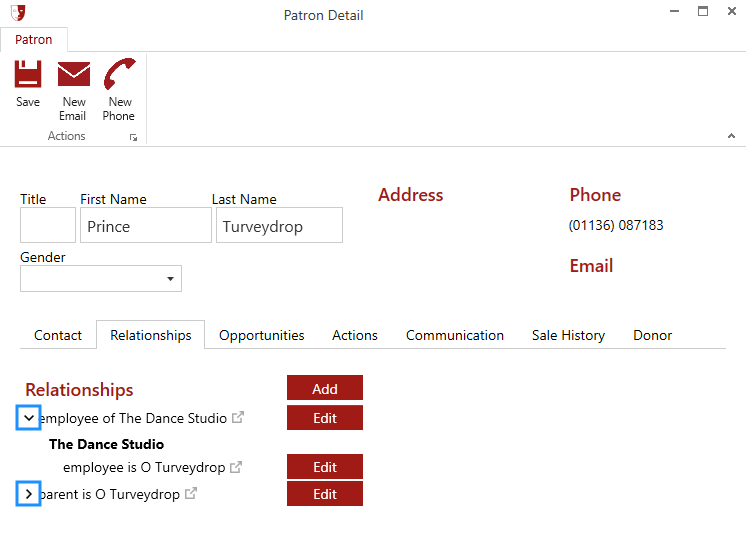
Fundraising: Relationships Tree
The Relationships tab will now display an expandable tree of patron relationships. Click a > chevron and it will expand the relationship and display relationships belonging to the related patron. Click the v chevron to collapse the relationship tree. When planning contacts for fundraising opportunities, it can be very useful to work through the relationship network you have documented using this relationship navigation tool.
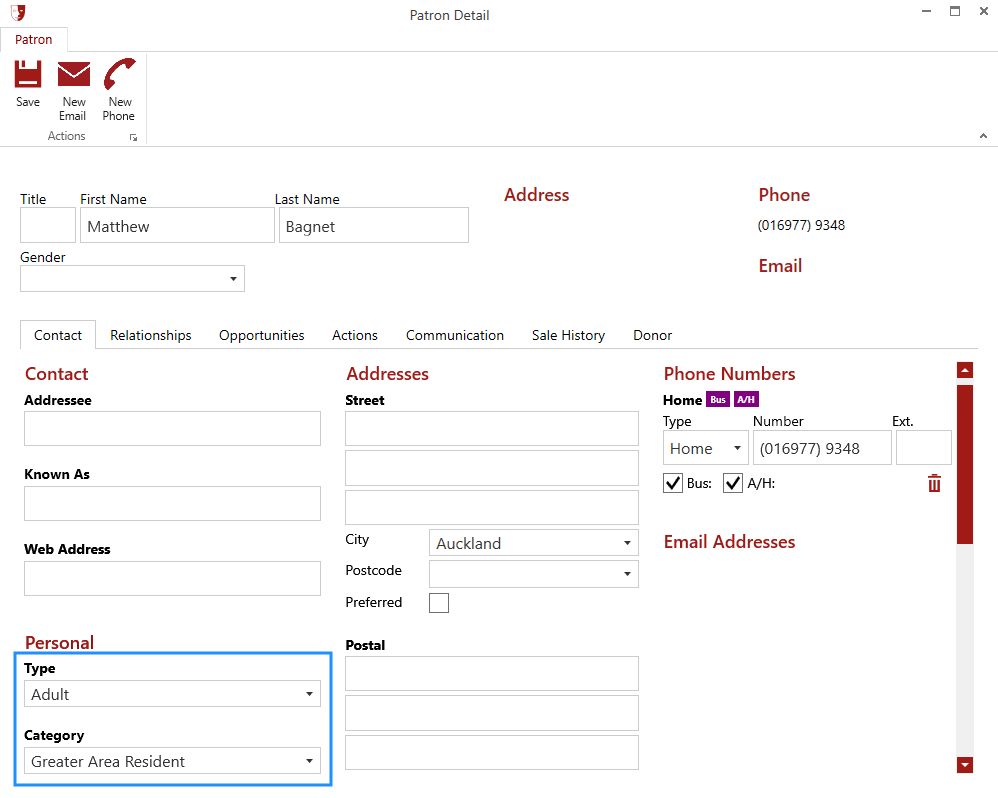
Fundraising: Patron Type and Category
Fundraising’s Patron Detail window now includes the patron Type and Category attributes on the Contact tab.
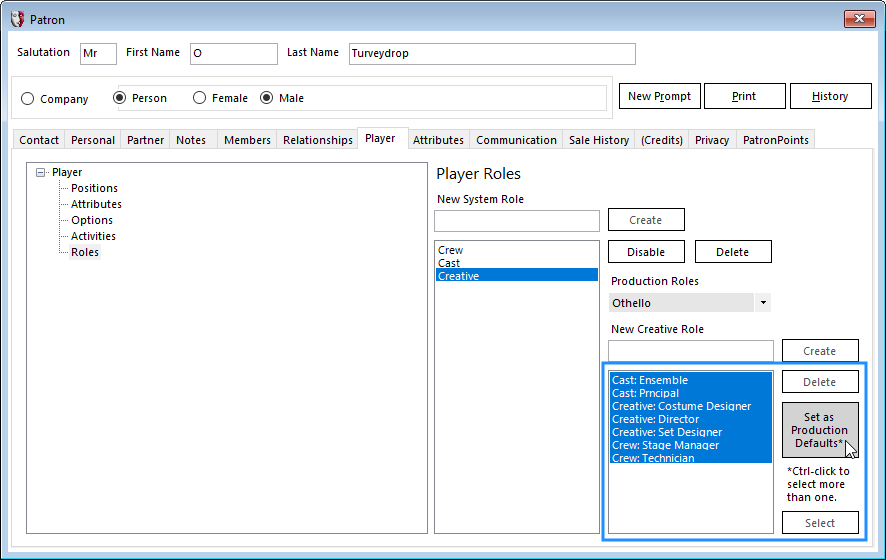
Define Default Production Roles
In the Player tab in Patron details, you can now click a button to Set as Production Defaults any combination of selected Roles you have defined to save creating similar roles for every new production.
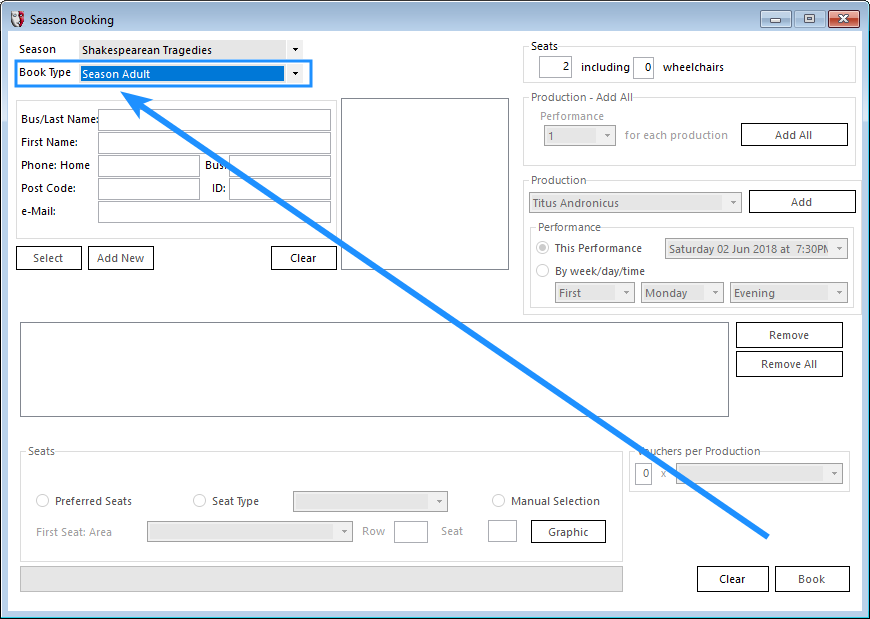
Season Subscriptions: Order Preference Book Types/Patron
A system setting changes the order of information entered when creating a new season booking. When Setup > Organisation > Settings > Properties > SeasonSelectBookTypeFirst is No, the Book Type field appears in the bottom right corner of the form. When set to Yes, the Book Type field is relocated ahead of the patron identification fields.
More Revisions
For further revision details, please see the Revisions list.